OBS NGINX反向代理实现HTTPS自定义域名访问
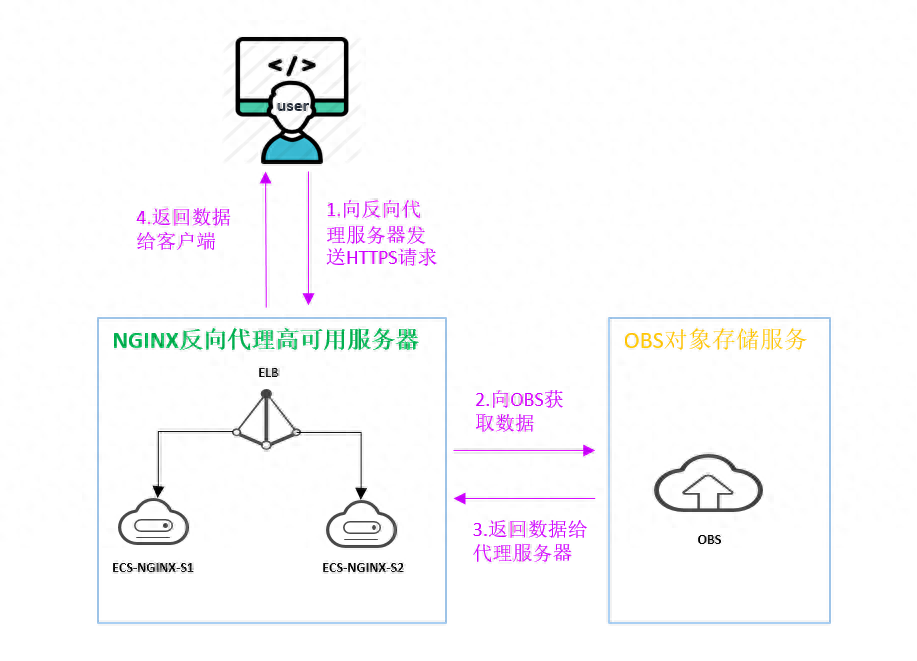
摘要:本文通过NGINX反向代理实现自定义域名HTTPS协议访问华为云OBS服务,采用均衡负载ELB搭建后台服务增强应用高可用性。
OBS HTTPS Reverse Proxy
创建ECS并安装NGINX服务
注意:安全组设置需要开放80,443端口,默认网络安全组即可
wget http://nginx.org/packages/centos/7/noarch/RPMS/nginx-release-centos-7-0.el7.ngx.noarch.rpm
rpm -ivh nginx-release-centos-7-0.el7.ngx.noarch.rpm
yum -y install nginx
systemctl start nginx
systemctl enable nginx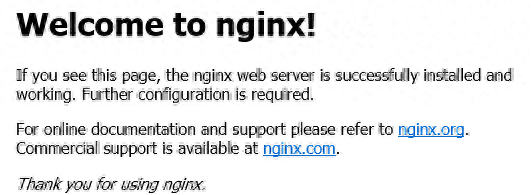
http://public ip
证书及秘钥上传
1.秘钥以.key文件结尾文件
2.证书以.crt或者.pem结果文件
3.上传到/usr/local/ssl/(目录可自定义)

配置NGINX
vim /etc/nginx/conf.d/default.confserver {
listen 80;
listen 443 ssl;
ssl_certificate /usr/local/ssl/domain_name.pem;//replace domain_name to your actual value
ssl_certificate_key /usr/local/ssl/domain_name.key;
#server_name domain_name;
server_name ********;###public ip
#access_log /var/log/nginx/host.access.log main;
location / {
root /home/www/public_html/domain_name/public/;
proxy_pass https://bucketname.endpoint;//the bucket you want to access
index index.html index.htm;
}
ssl_protocols TLSv1 TLSv1.1 TLSv1.2;
ssl_ciphers ECDHE-RSA-AES128-GCM-SHA256:HIGH:!aNULL:!MD5:!RC4:!DHE;
ssl_prefer_server_ciphers on;
ssl_session_cache shared:SSL:10m;
ssl_session_timeout 10m;
#error_page 404 /404.html;
# redirect server error pages to the static page /50x.html
#
error_page 500 502 503 504 /50x.html;
location = /50x.html {
root /usr/share/nginx/html;
}
# proxy the PHP scripts to Apache listening on 127.0.0.1:80
#
#location ~ \.php$ {
# proxy_pass http://127.0.0.1;
#}
# pass the PHP scripts to FastCGI server listening on 127.0.0.1:9000
#
#location ~ \.php$ {
# root html;
# fastcgi_pass 127.0.0.1:9000;
# fastcgi_index index.php;
# fastcgi_param SCRIPT_FILENAME /scripts$fastcgi_script_name;
# include fastcgi_params;
#}
# deny access to .htaccess files, if Apache's document root
# concurs with nginx's one
#
#location ~ /\.ht {
# deny all;
#}
}
检测NGINX配置及设置开机启动
nginx -t
systemctl stop nginx
systemctl start nginx
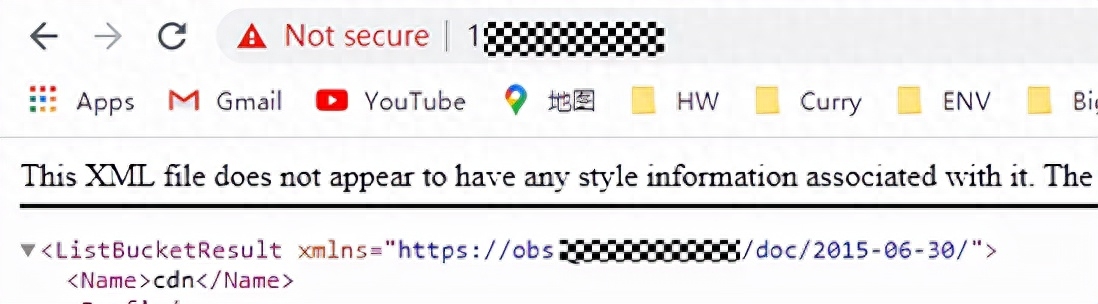
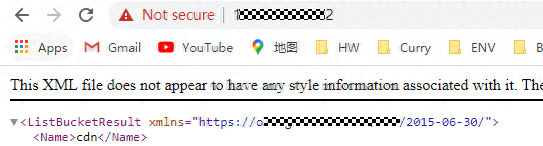
发送HTTP/HTTPS请求获取OBS数据
http://public ip
https://public ip

制作镜像,新创建一台ECS服务器
使用ECS-NGINX-S1创建镜像,申请一台服务器,实现两台服务器互相backup

创建ELB服务,添加HTTPS监听及后端服务器
1.创建HTTP/HTTPS ELB
2.添加HTTPS监听器
3.添加证书crt,秘钥pem
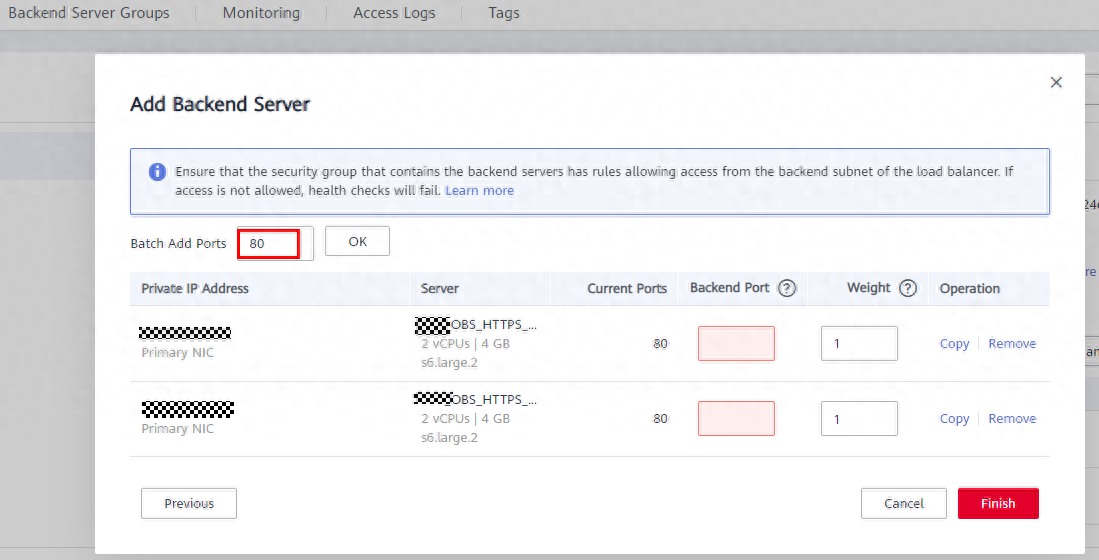
4.添加后台服务器,设置80端口


测试ELB HTTPS请求服务访问OBS服务